Today I'm going to show you How to make an archived back up your iPhone or iPad in a easy way.
Before you begin, make sure you back up your iPhone or iPad. While the beta process is fairly straight forward, any time you make any significant change to your device you risk problems. And with your personal data, it's always—always!—better to be safe than sorry. Even if you back up every night, you'll want to make sure it's absolutely up-to-date.
Step 1: Plug iPhone or iPad into your Mac or Windows PC.
Step 2: Launch iTunes.
Step 3: Click on the iPhone or iPad icon in the menu bar when it appears.
Step 4: Make sure backup is set to This Computer. (And enable Encrypted backup — it's worth it!)
Step 5: Click on Back Up Now. (Click on Encrypt Backup and add a password — you want the security.)
Step 6: Back up Apps, if asked.

Step 8: Click on the Devices tab.
Step 9: Option-click on your Backup and choose Archive.
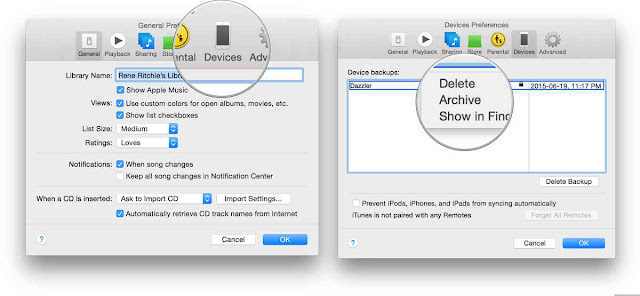
Archiving will prevent your iOS 8.4 backup from being overwritten by an iOS 9 backup in the future, should you want to revert for any reason.
You May Like: How to Set up iOS 9.3 on iPhone and iPad Easily
Seo Tag: iPhone, iPad, iPhone Back up, iPad Back up, back up your iPhone or iPad
Post a Comment